Motorcycle Restoration
Welcome to my motorcycle restoration project.
One day walking to class I had a thought: "you know its crazy I'm in school for engineering, yet I feel like I haven't seen anything we do in class applied in a real world setting." and thus, I decided it was time to take apart and rebuild an engine.
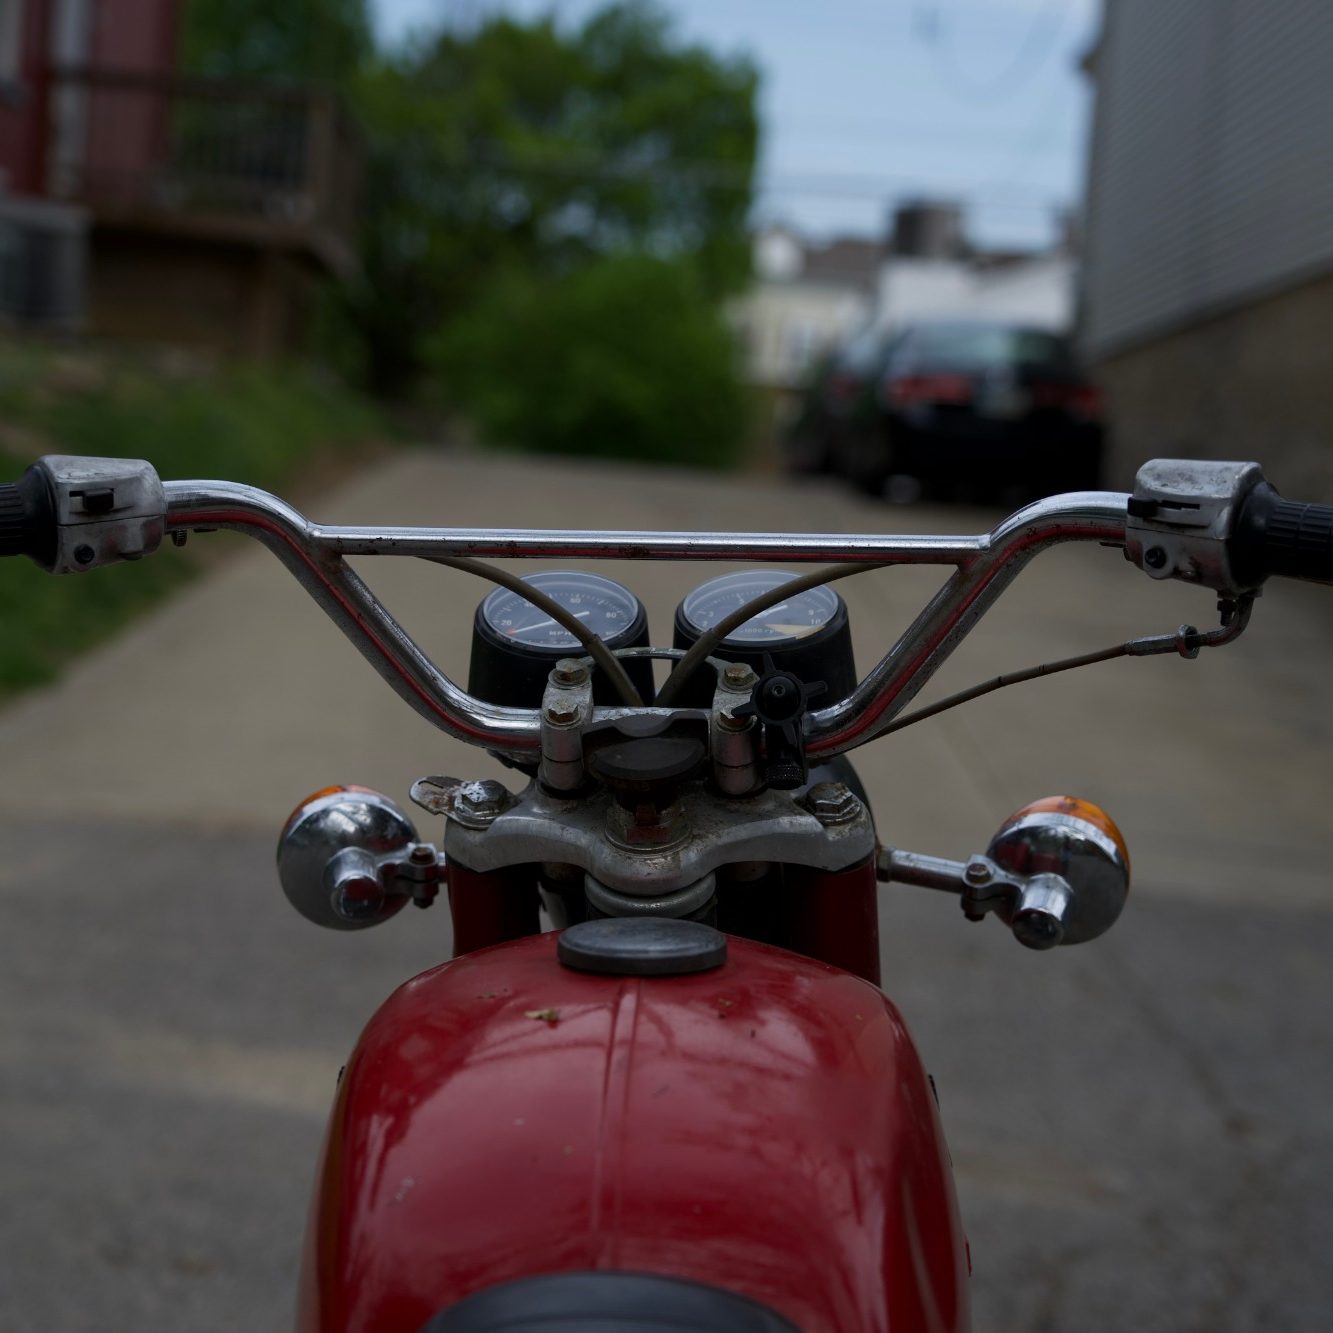
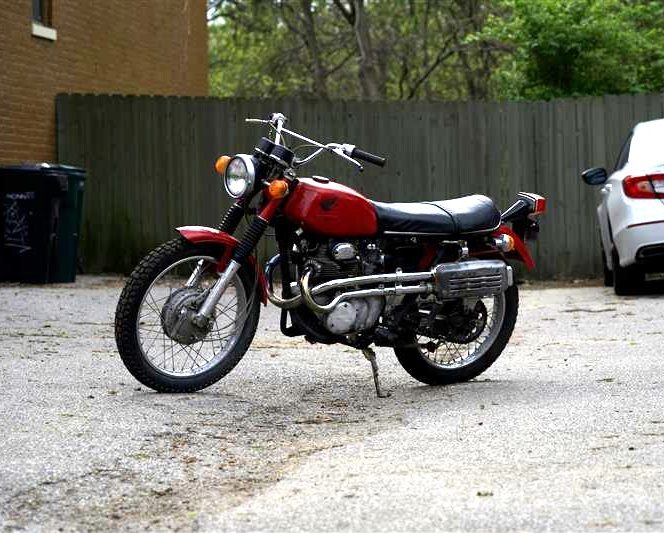
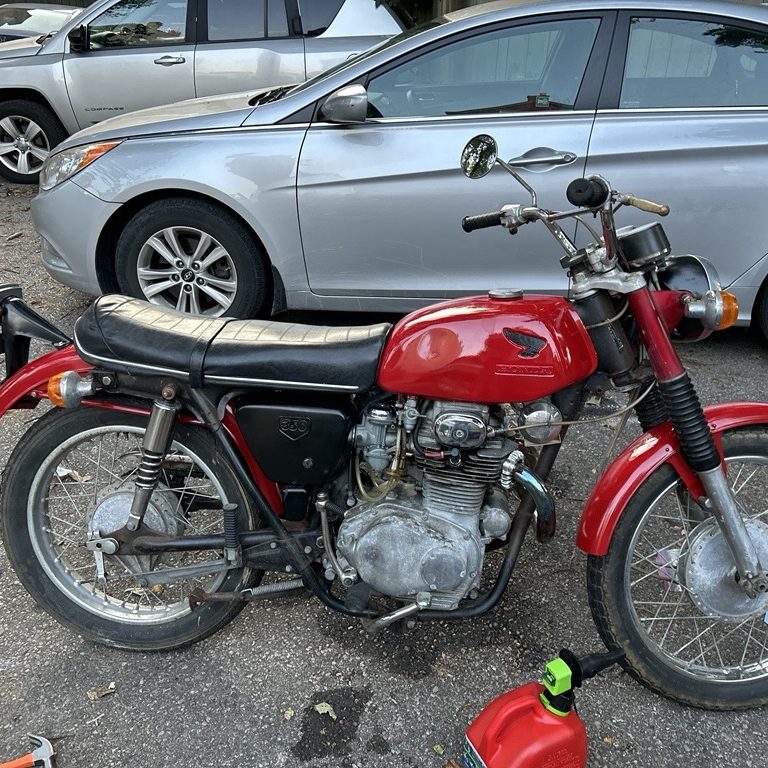
To the left is my 1969 Honda CL350 motorcycle. I've spent the last year learning the ins and outs of this bike, and I can say it was well worth it!
Keep scrolling I'll take you though the modifications I've done, and the hard lessons I've learned while restoring this motorycle.
First Steps
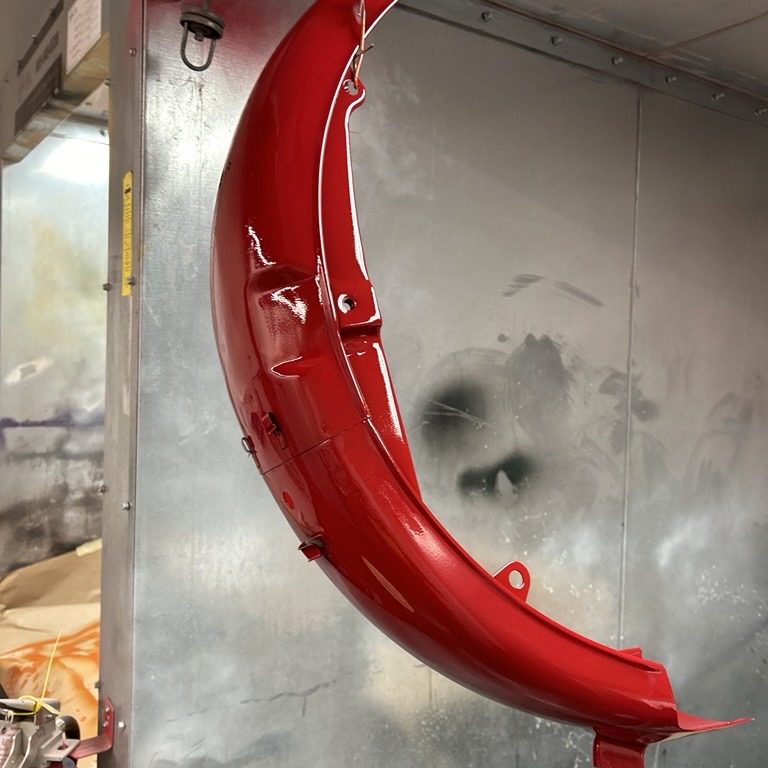
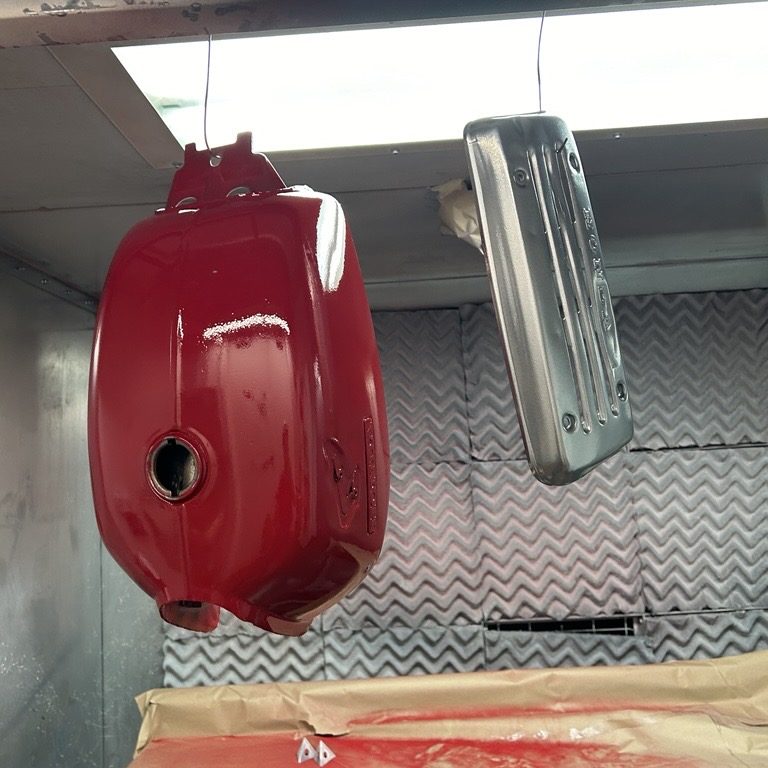
When I first got this bike it was in was in need of some tlc. Rust was eating away at components everywhere, the paint was chipping, and the engine was running rough. First order of buisness was giving it new look. I went ahead and sand blasted and powder coated the gas tank fenders, and some other components at UC's makerspace.
Not bad.
After painting, I hit my first real set back. This bike runs on carburetors, and they needed a clean. I didn't know what a carburetor was coming into this , and couldn't figure out why the engine would sputter so bad, and never reach above 5,000 rpms. I ended up doing some research and talking to others that had experience, and eventually did a complete carburator clean and rebuild.
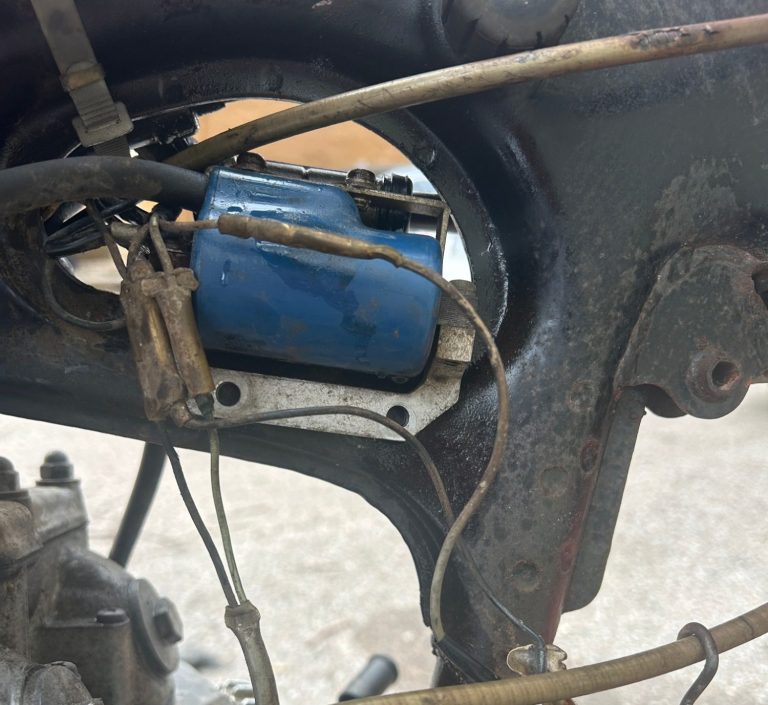
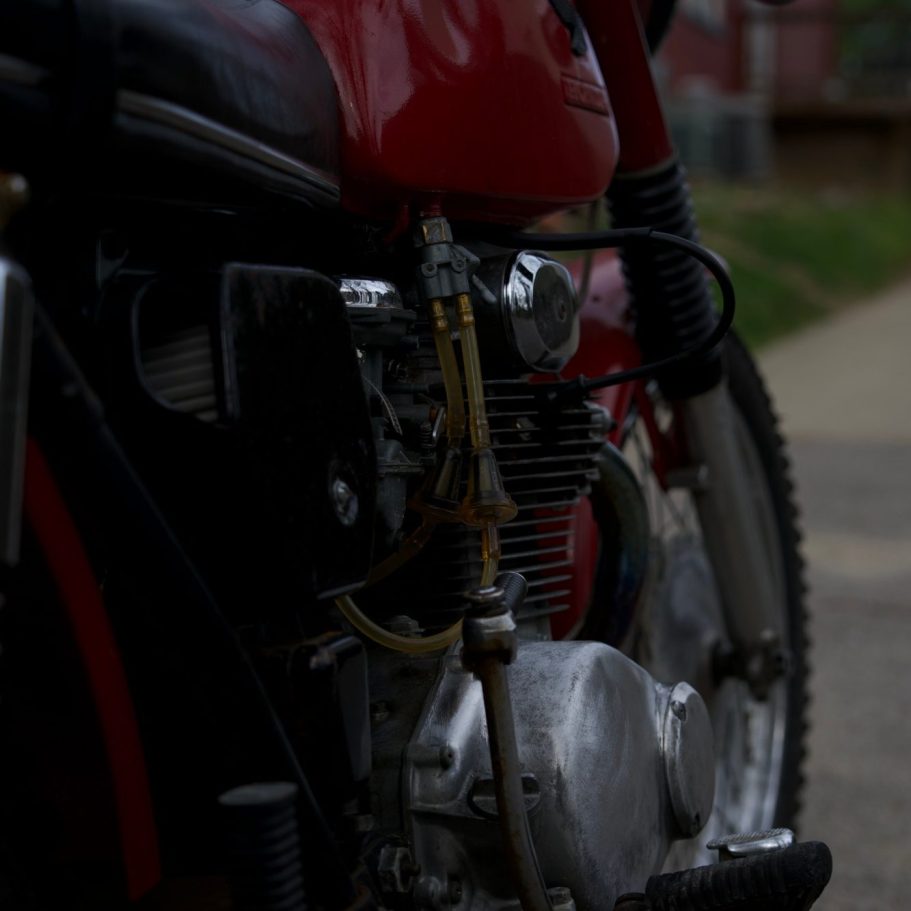
The next challenge I ran into was the electrics of the bike. through process of elimination, I came to the conclusion that it was not the carburetors that were still effecting the engine performance. The bike would lose power after hitting a certian rpm, so I narrowed it down to a problem with the condensors and coils. I worked my way through the circuit and replaced these components next.

Electrical Circuit
Compression Issue
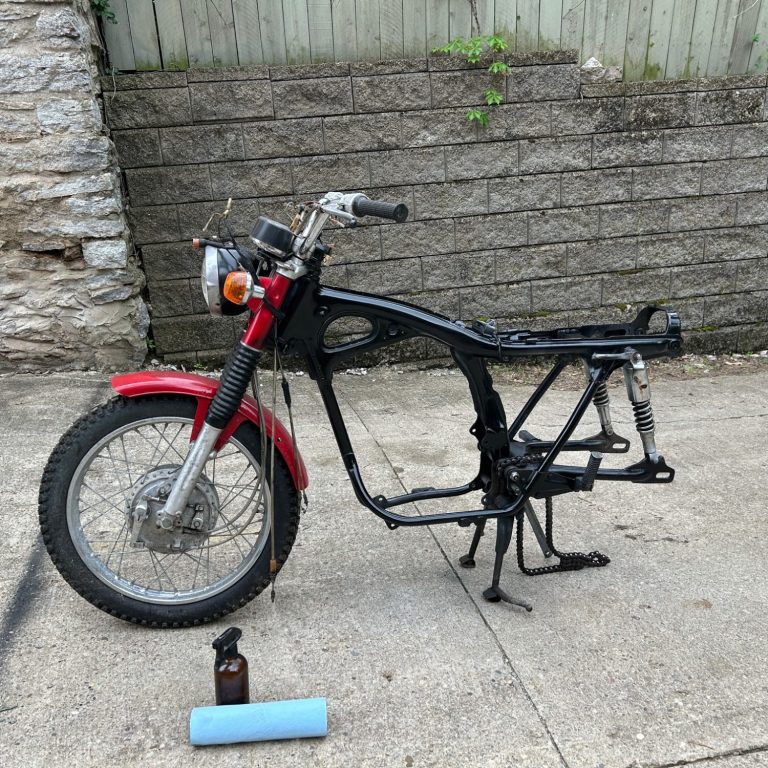
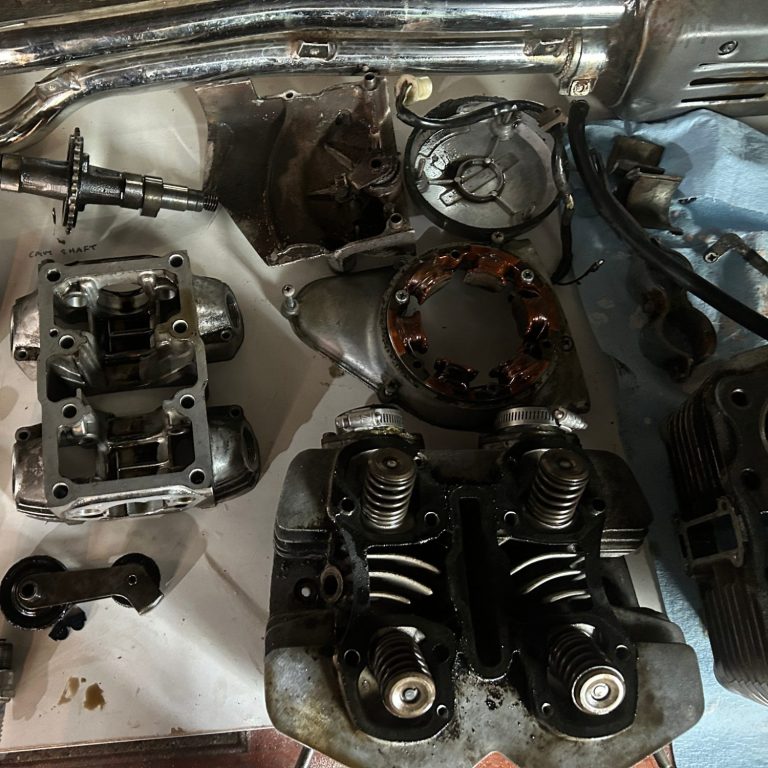
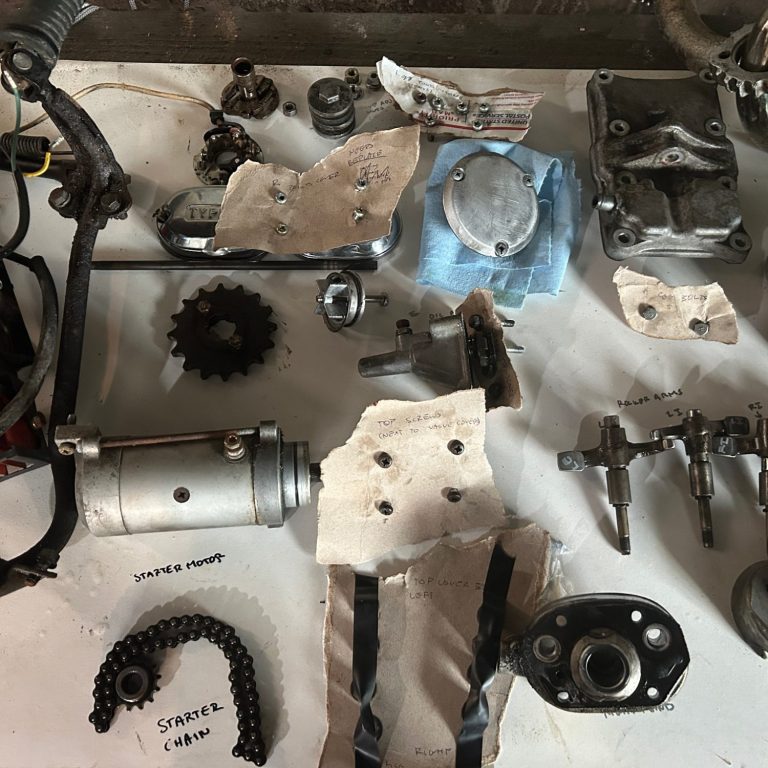
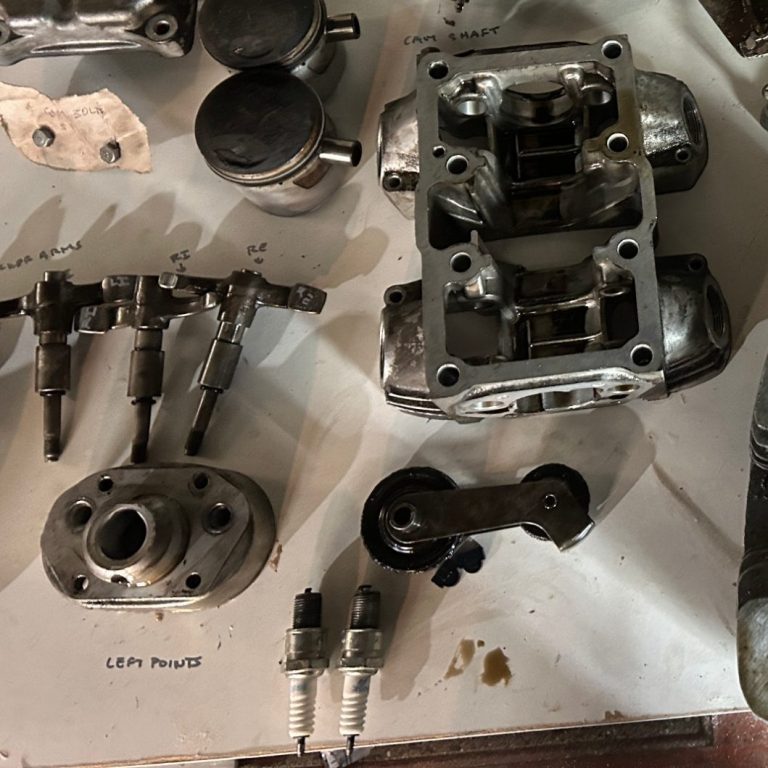
After all that work I still had an issue with compression. At this point I knew to run well the bike had to have compression, spark, and fuel. I had previously replaced the spark plugs, cleaned out the gas tank and filters, and rebuilt the carburetors. The last piece of the puzzle was the compression. It was stronger than I would have expected, but not enough. I took the engine out for a rebuild and used it as an opportunity to repaint the rusted frame. After much much cleaning and de-rusting, the engine was ready to be put back together.
Lessons Learned
Through this project I learned a ton about how engines work, and how fragile the system as a whole is. One feature tuned incorrectly could cause the entire bike to fail. Here are some of the highlights and eureka moments I had while restoring this motorcycle.
Electrical Circuit Grounding
As many people know, in order to use anything electrical, you need a full completed circuit, a positive and negative terminal. I found out that this bike actually uses the frame itself as ground. All components are grounded through their mounting method (mounted to the frame). I thought this was a really cool engineering hack.
At one point the motorcycle would run for a bit then shut off completely. I couldn't figure out what it was until I took to some forums. I realized there was an exposed wire causing my circuit to ground prematurely, every time it touched the frame it would cause my fuse to blow. I ended up going through about 30 fuses before I found the exposed wire. After that I replaced the single 15A fuse with a circuit breaker so I would never have to go to the auto parts store for a fuse ever again!
Carburetors
I didn't even know what a carburetor was before getting my hands on this project. I found out very quickly how vital they are to the running of the machine. My fuel delivery system existing within two chunks of metal with tiny little jets that can clog at any moment. I learned the importance of a good fuel filter, and how small details like needle or float height can severely impact the performance of the engine. I also realized how important it is to have a good seal, because even a slight vacuum leak can cause failure.
Patience
Working on something as old as this took a LOT of patience. Even now, the bike requires a lot of tuning and love in order to work correctly. I learned which parts of the bike could operate between a tolerance while others needed to be exact. Most times something would go wrong and I wouldn't be able to tell what it was until I went though an entire process of elimination. Sometimes the problem was hidden deep and others it was staring me in the face.
At one point I got water inside the combustion chamber and the bike wouldn't turn over. I found out exactly why that was not good. Turns out water is an incompressible fluid. I had just spent the entire semester learning all about thermodynamics and incompressible fluids, but I didn't truly know what that meant until I made it a problem for myself! Though incredibly frustrating, I thought that was a very cool "ah ha" moment where my classroom learning and real world experiences really came together.